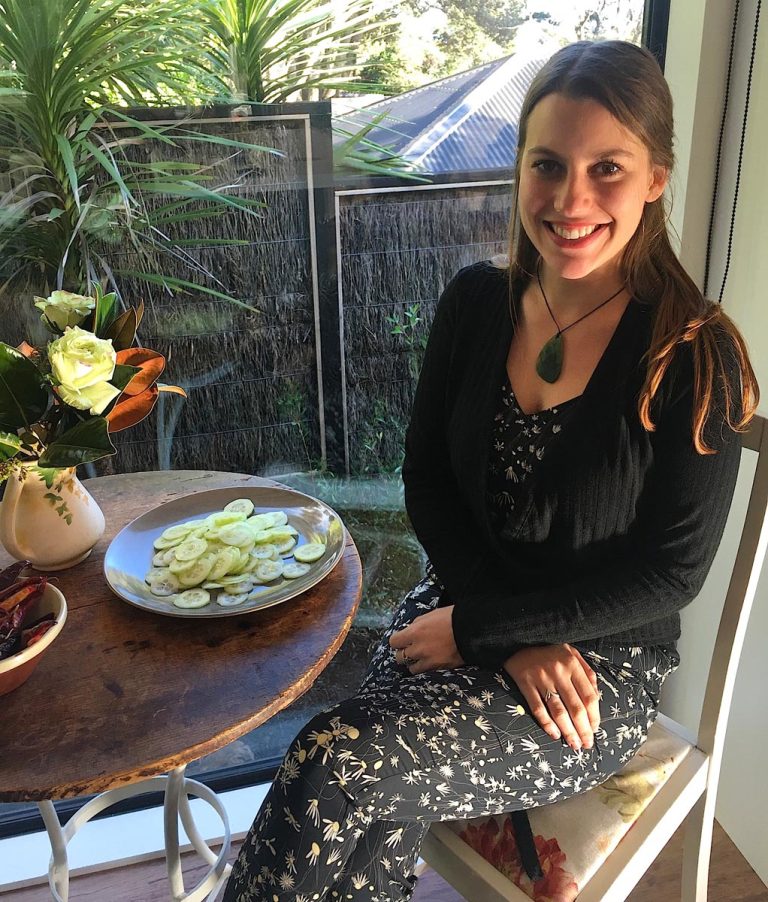
I brewed my own beer!
Ilaria here. I knew nothing about beer and barely drank it until I came to London. My go-to was Corona or Hoegaarden and I rarely stepped away from these two.
Then, WELCOME TO LONDON! And everything changed.
I was unaware that there were so many styles of beer for a start, and that there’s a ridiculous array of hops and malts from different sides of the world and the flavours of these are influenced by their geographic locations. Hops grown in England, for example, are bold, earthy, and tea-like. Czech hops on the other hand are crisper and lighter with some pepper notes; these are mainly used in Pilsners and Lagers. Hops grown in Australia and New Zealand are tropical and fruity, similar to those of America that are also fruity but piney and grassy, too. It’s the geographical region that the hops are grown in that gives them their unique flavour profiles. Think of it like wine – hops grown in warmer weather like New Zealand or West Coast America have a more tropical flavour.
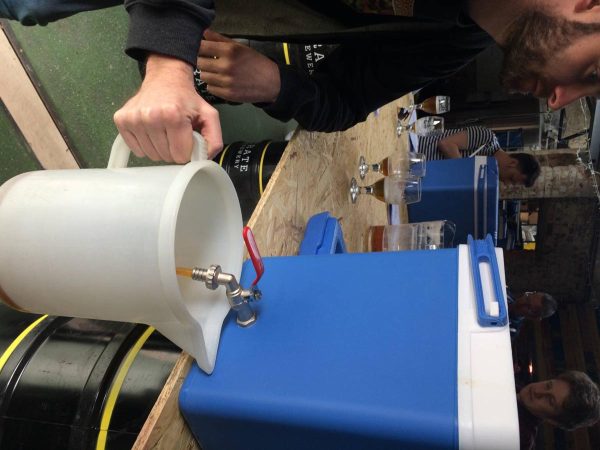
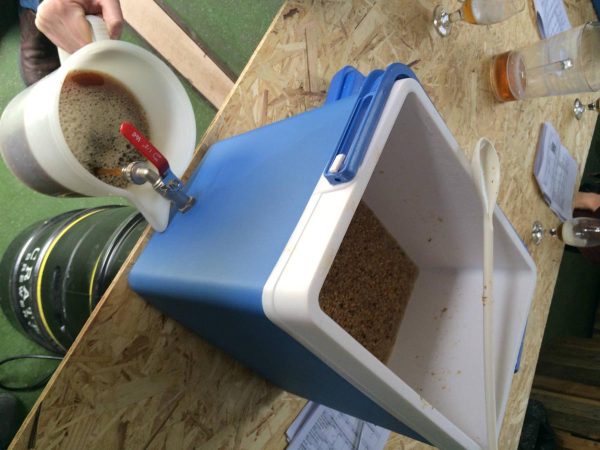
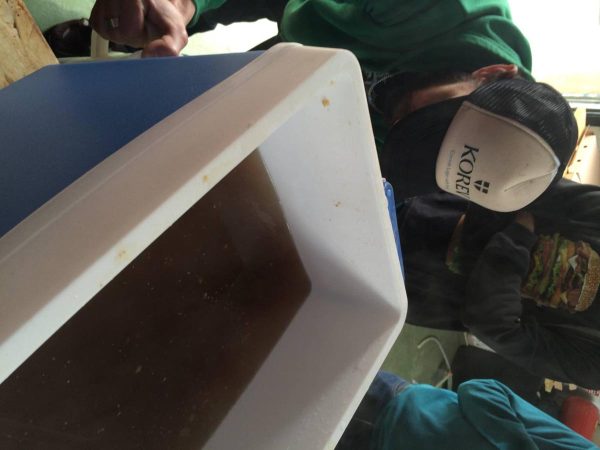
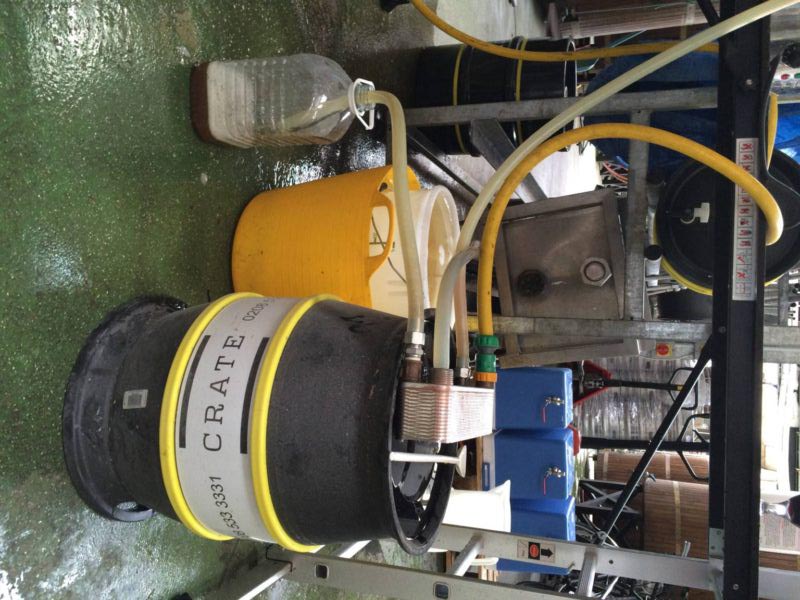
During a Home Brew class at CRATE we used Challenger hops. We converted small chilly bins into brewing tanks by adding a small, netted filter at the base. The filter acted as a sieve to catch any malt that would otherwise slip through the tank into our eventual beer. We began by filling the tanks with hot water and pouring in the malt.
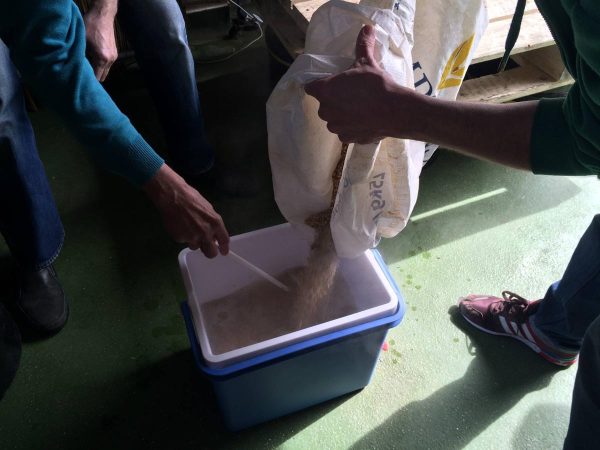
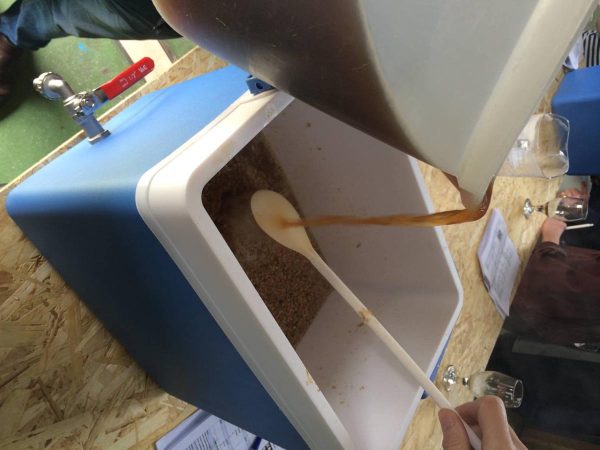
We then left the mix to drop down to the right temperature before adding more water to the tank. It’s important when adding more water that you do so delicately so the settling malt is not disturbed. Pouring the water over the back of a spoon usually does the trick!
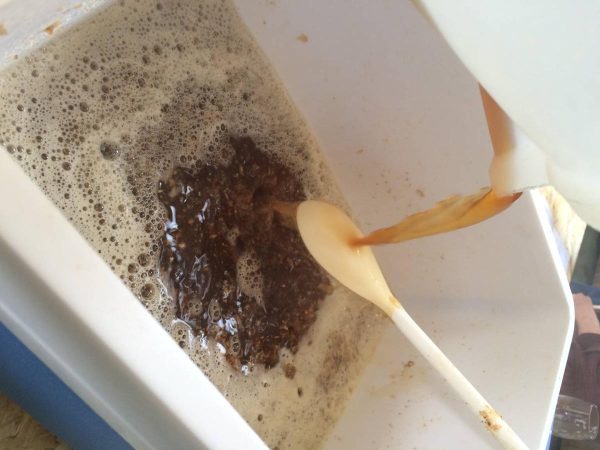
We have to siphon litres out at a time and pour them back in, repeating this cycle until the liquid eventually runs clear.
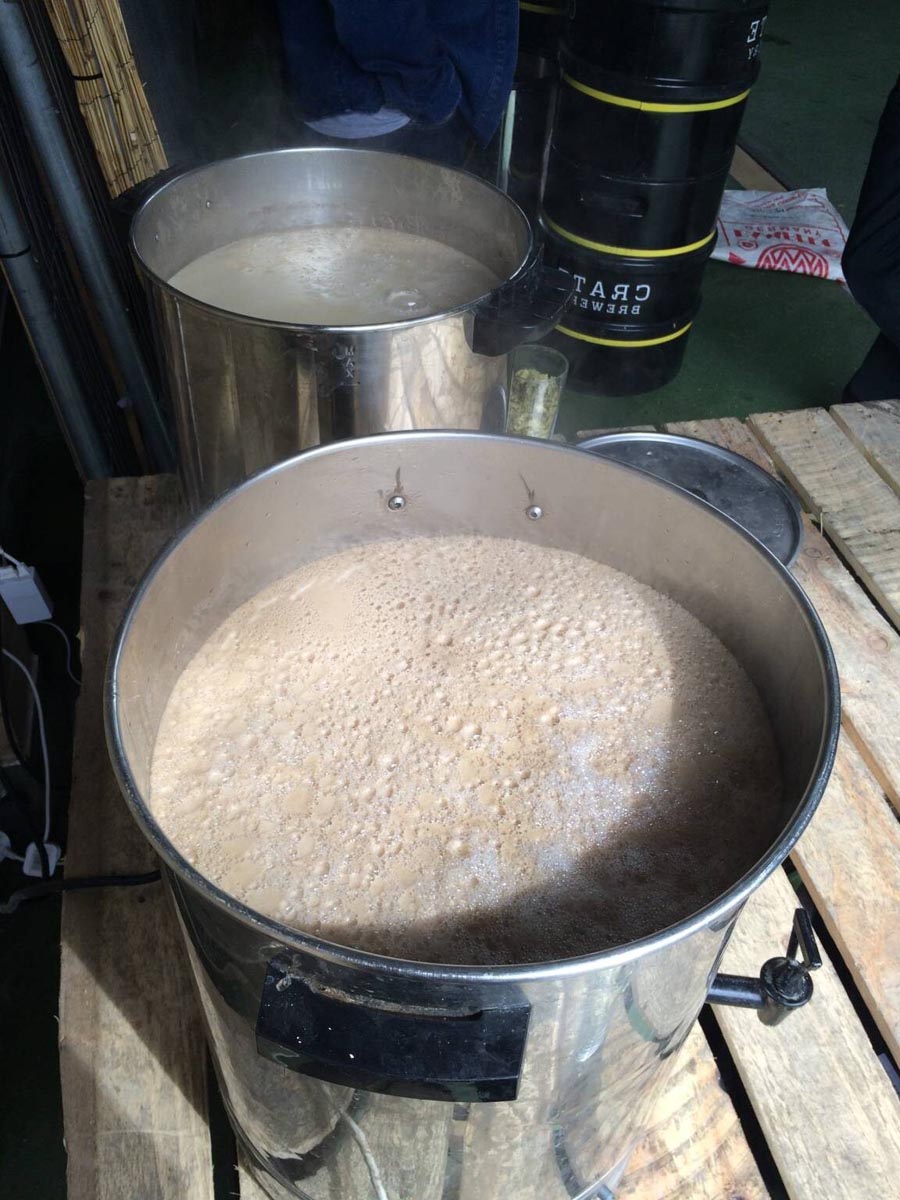
The liquid is then poured into a huge barrel and brought to the boil. The tank will be left with a bed of malt – the water we’ve added has absorbed all the flavour and goodness that we need so the spent malt can be thrown out, or feed it to a group of horses that just may happen to be casually loitering by …
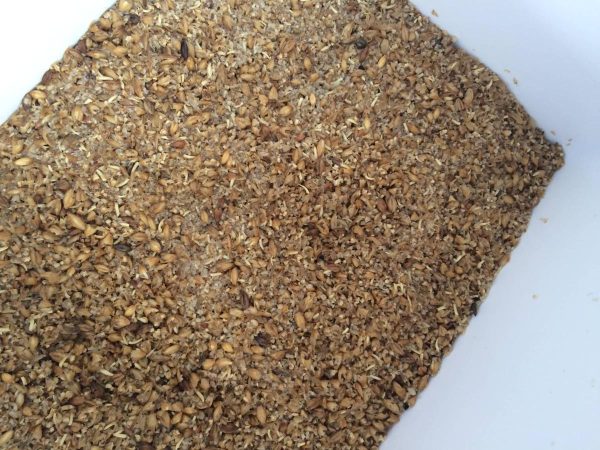
The malt has settled! After, we drain the water out of the tank we’re left with with residual malt.
During the boiling, the protein from the malt rises and bubbles to a thick beige froth. We added in our first round of hops at this stage and continued to boil the mixture for 45 minutes.
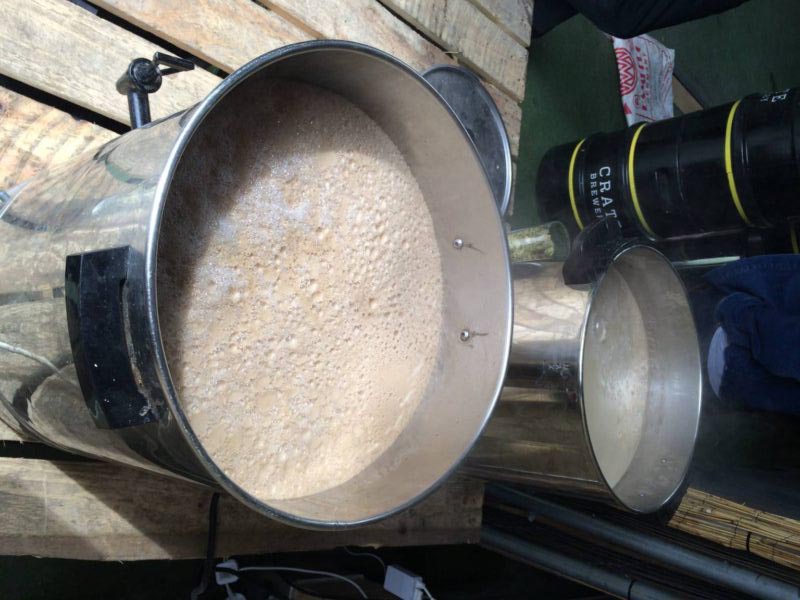
This first round of hops essentially adds the bitterness to the brew. The longer the hops are exposed to hot water, the more oils are extracted and consequently the bitterer the brew will be. The second round of hops added at the very end gives the beer it’s aroma, and also adds to the flavour. By adding in this second round for just a short flash of 15 minutes or so, the sweetness will seep out of the hops but very little bitterness.
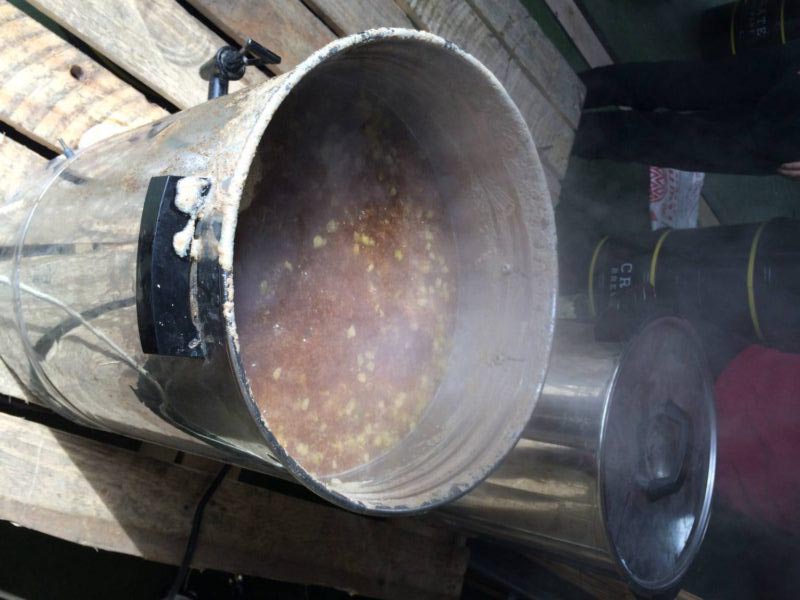
At this point we have to crash cool the brew otherwise the hops will continue to be affected by the hot water. We ran ours through a tiny chiller, straight into our fermenters.
Here we added in the yeast, and then we tucked them away for a few weeks. I added in a whack of white peach purée half way through the fermenting process in the hopes of creating a delightfully fruity pale ale! While I was unsure what to expect, I have to admit the end result was pretty tasty. The beer was sweet and floral, and actually smelt like strawberry yoghurt! For a first time go, I’ve gotta say I was pretty stoked! As I write this it’s a Sunday afternoon and in all honesty I think it’s fair play if I cracked open a couple of these home brew beers. That’s what it’s all about!