
101 filo pastry preparation
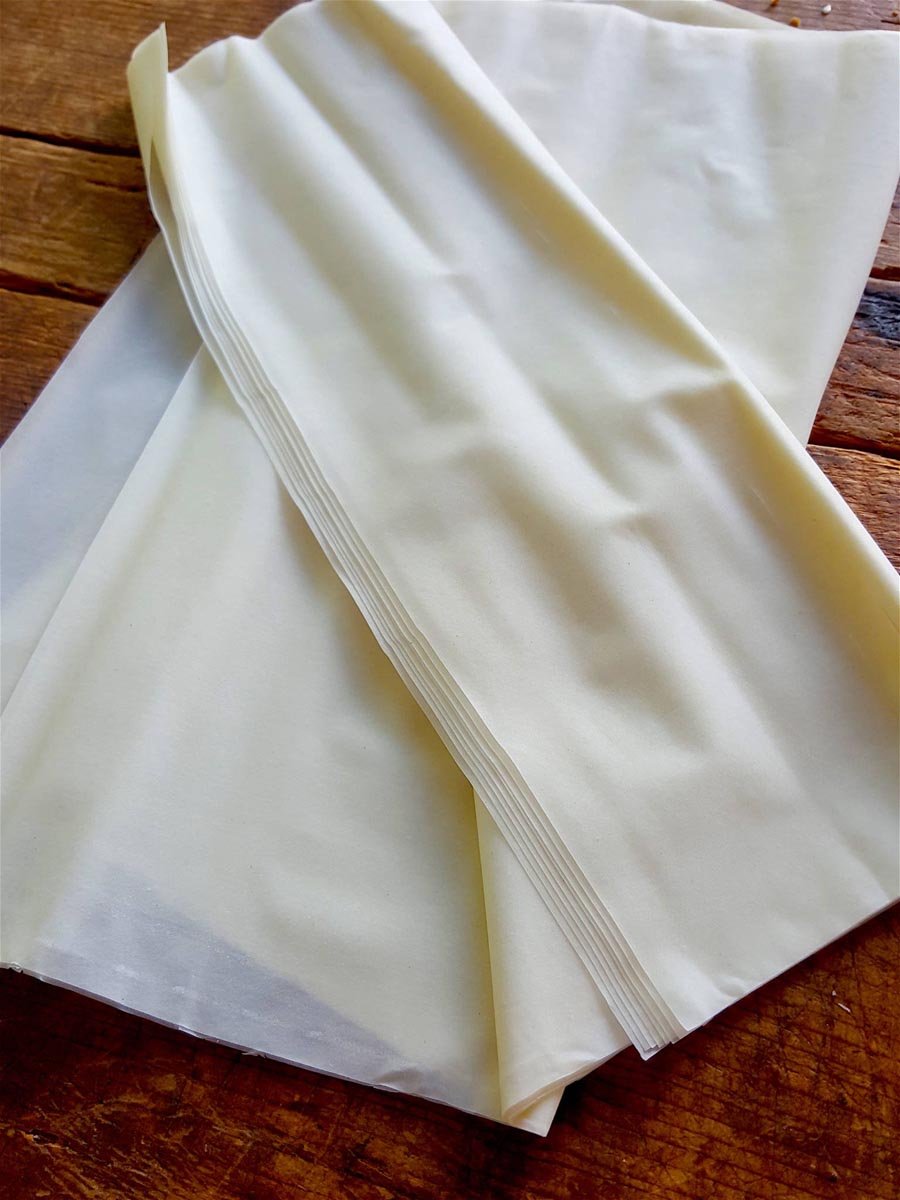
Traditional filo is tissue-thin and can be temperamental to work with. Speed is required to get it buttered or oiled, rolled and shaped before it becomes brittle and shatters into flakes.
Traditional filo is tissue-thin and can be temperamental to work with. Speed is required to get it buttered or oiled, rolled and shaped before it becomes brittle and shatters into flakes.

The chooks are going off! Spring fever. Laying like crazy. That’s good!
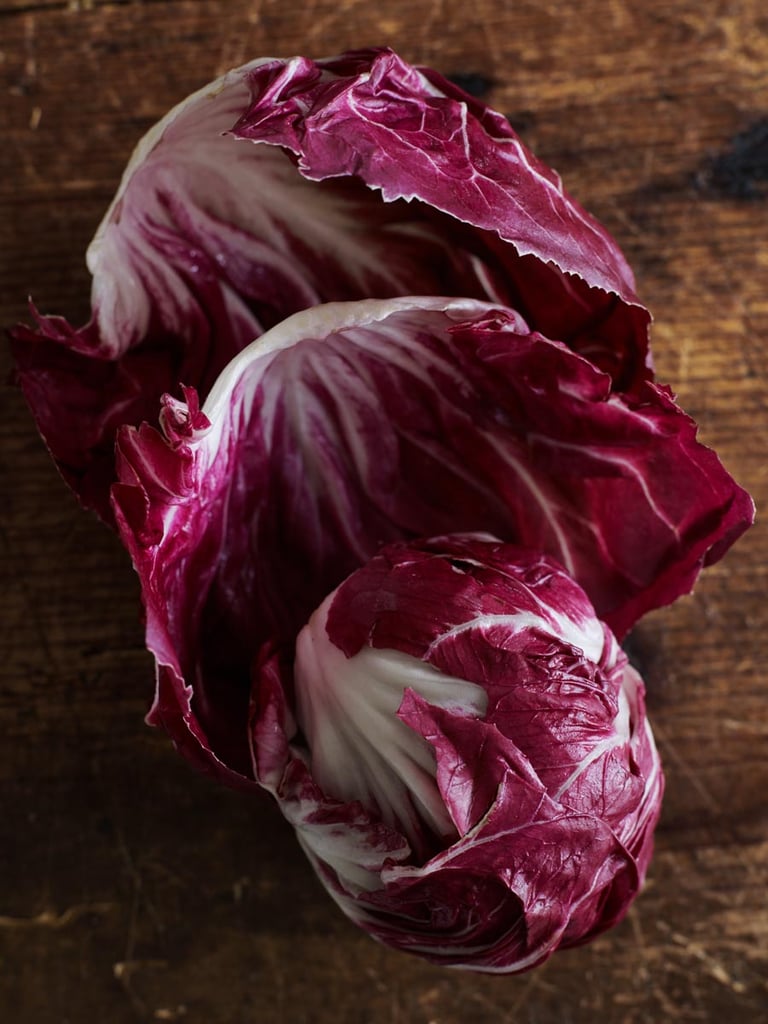
I love the striking colour of radicchio and the way it lifts a bowl of green salad … and it’s refreshing minerally bitter bite in other dishes.
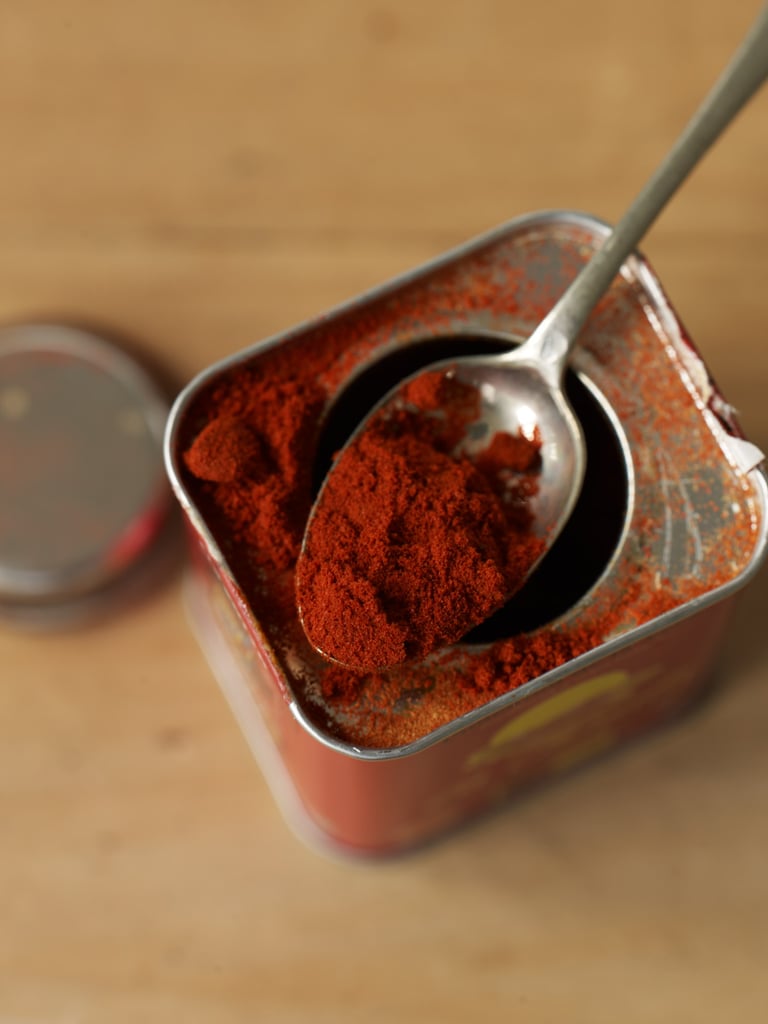
Smoked Spanish paprika has a distinctive aroma – like a hide of leather stretched out in the sun to dry, mingled with charred chillies and cigar box.

The best parsnips will have had an early morning shiver or two in frosty fields which sweetens them somewhat.
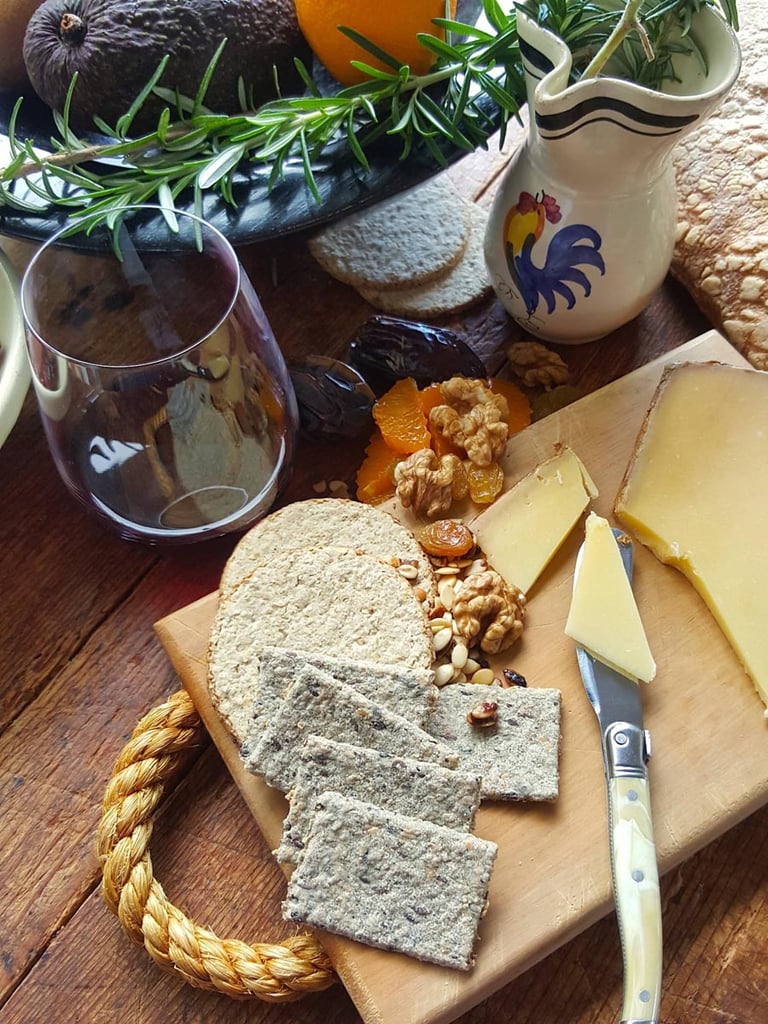
Sheep’s milk cheeses add flavour to dishes just like parmesan.
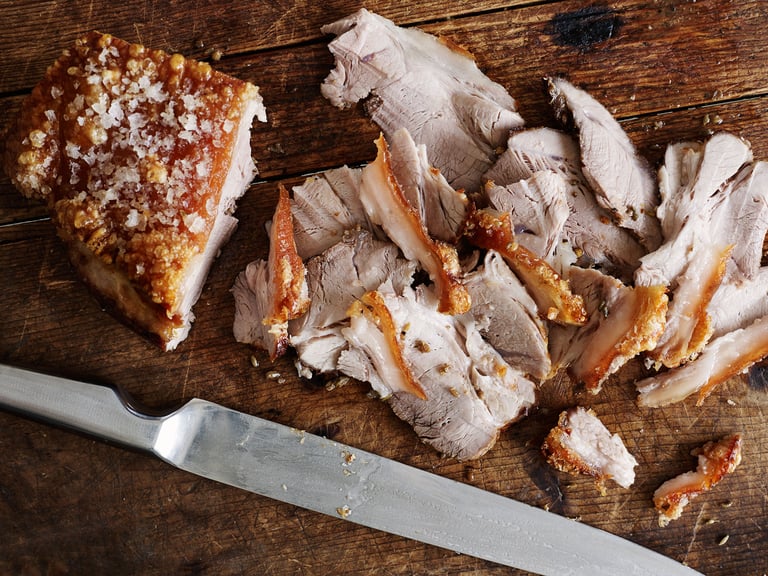
Crackling. CRUNCHY crackling. Gorgeously golden, so fingerlickin’ salty, and so perfectly crackled you hear it shatter in your ears, and all lined with a layer of sweet creamy fat that melts on your tongue. OMG! Died and gone to heaven with this one.
No products in the basket.