
Best-ever plum jam
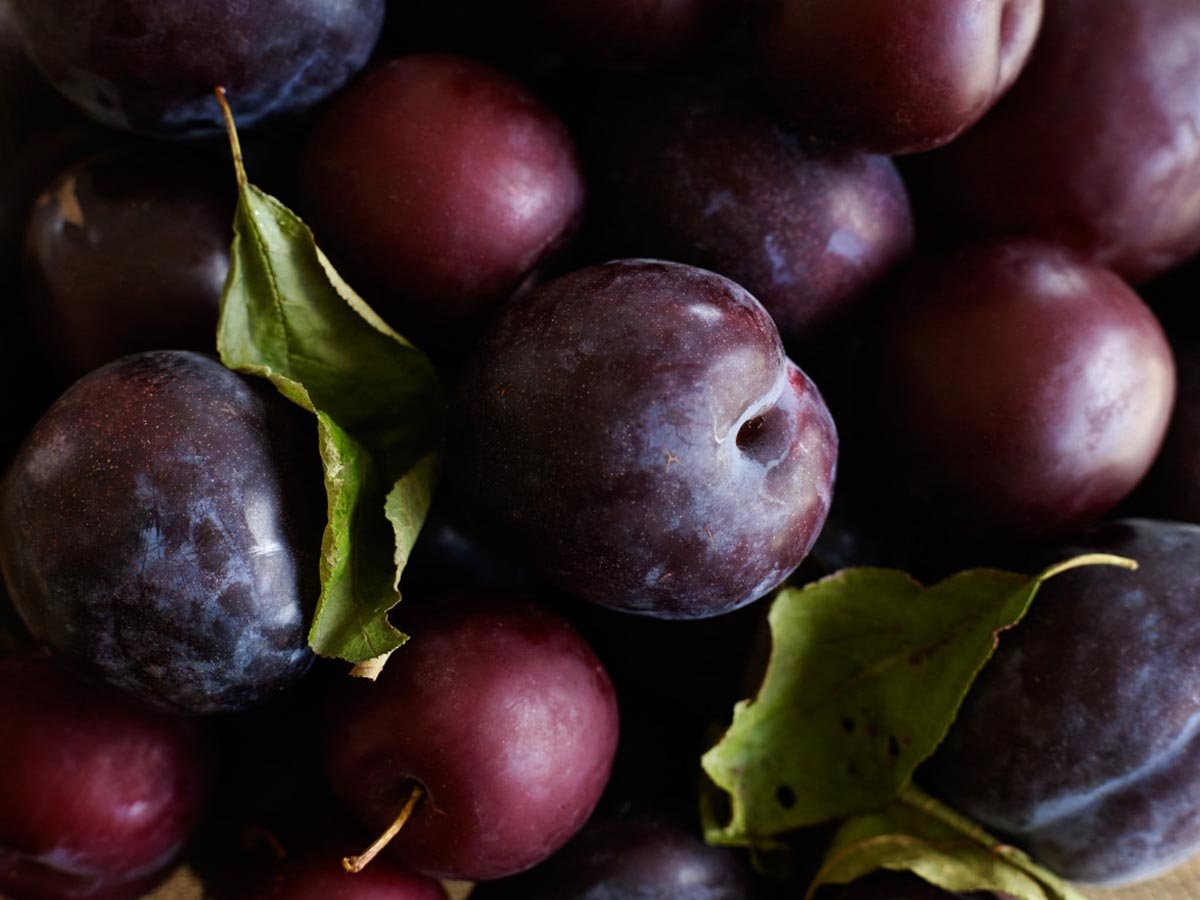
What’s this little bundle of joy?
Read the 101 of jam making here and you’ll be away … tips galore!
What’s this little bundle of joy?
Read the 101 of jam making here and you’ll be away … tips galore!
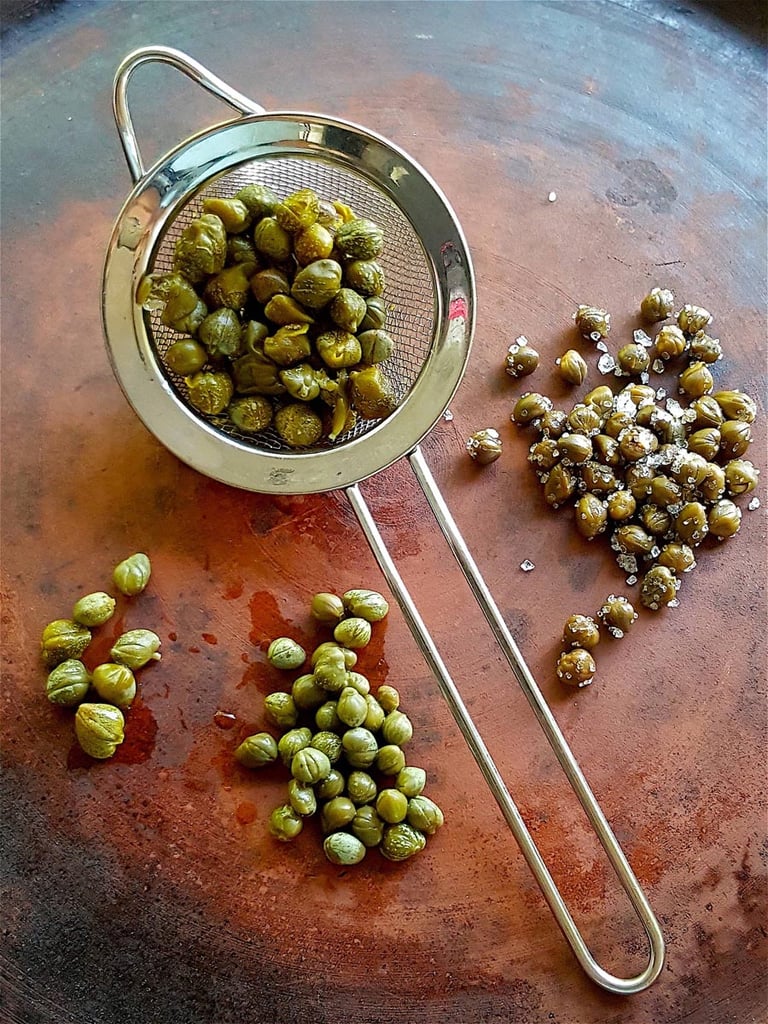
Yep, they sure ting-le your taste buds. Food a bit flat? Life a bit boring? Add a few capers and liven things up.
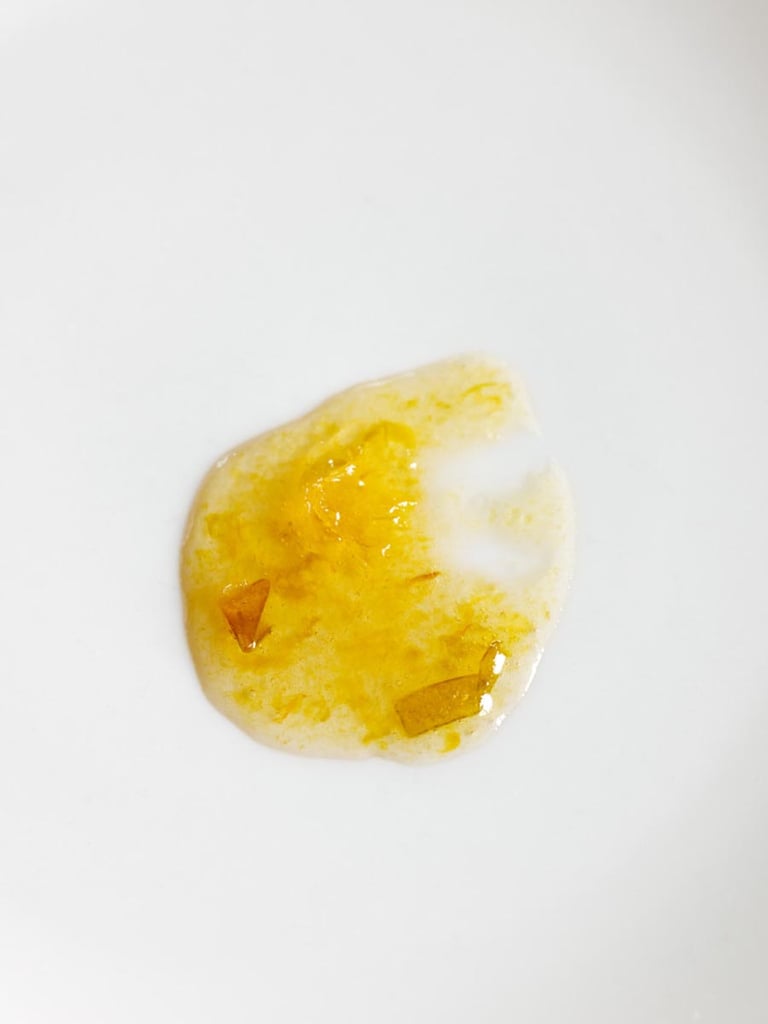
How do you know when jam has reached setting point?

Easy when you know how
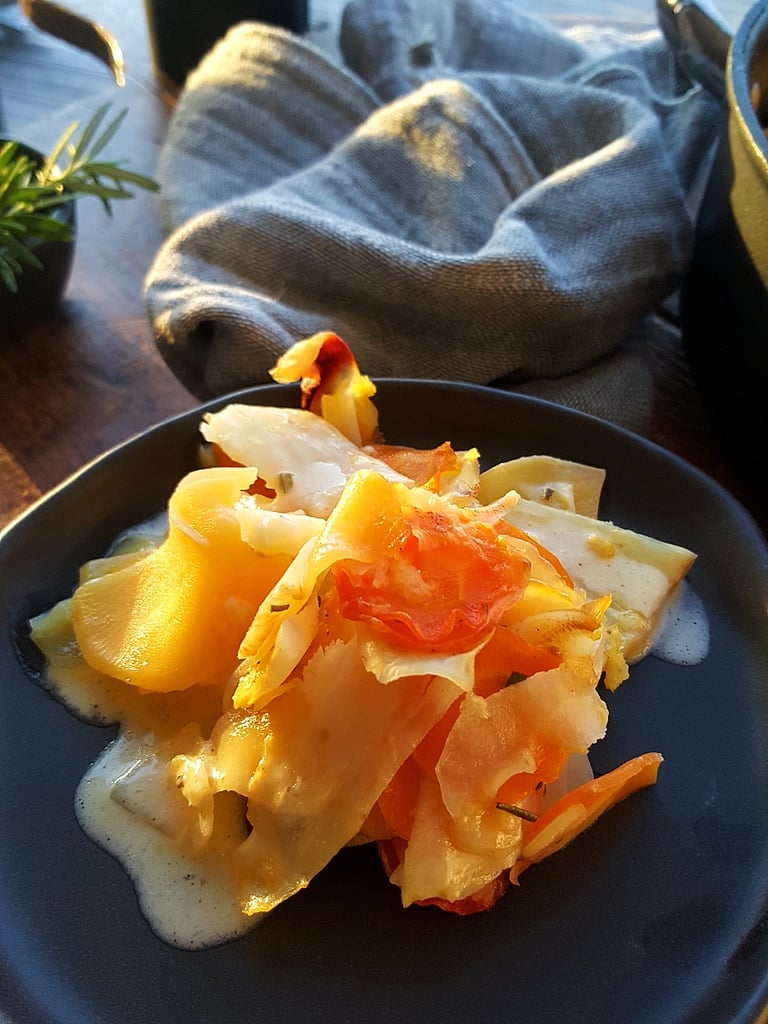
Swedes are a mystery to many cooks and dismissed as cattle-fodder by others, but cooked in interesting ways, they can be absolutely delicious.
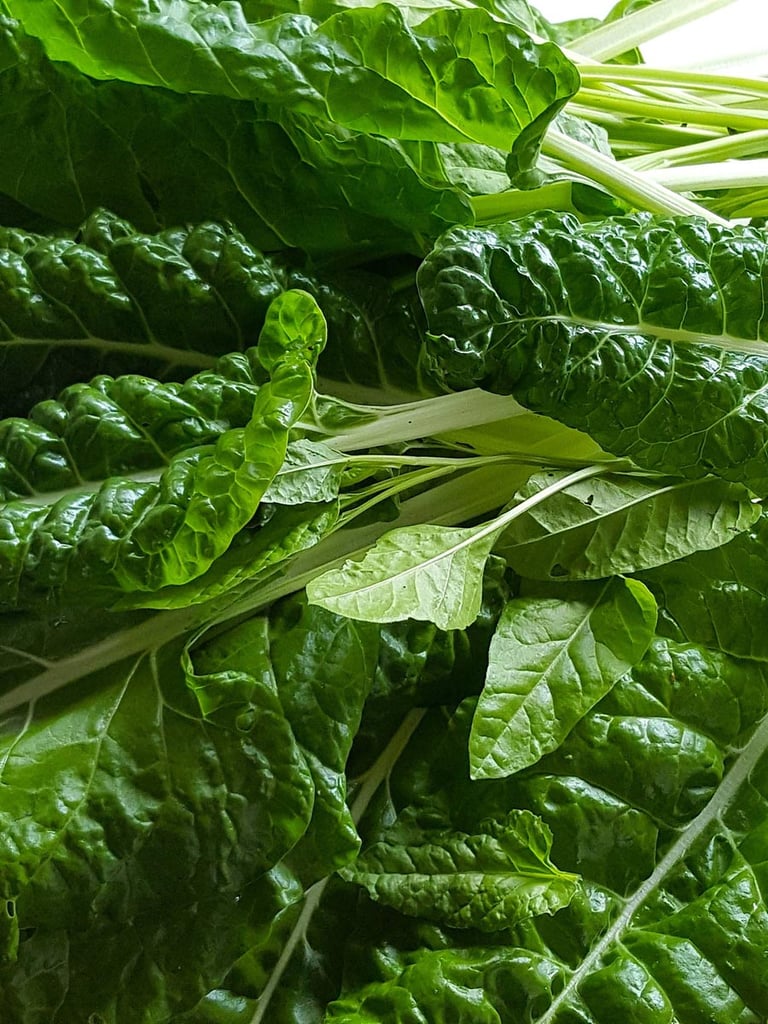
A Kiwi gardener’s favourite – you can ignore it, and it just keeps on growing! Read how to make the most of it.
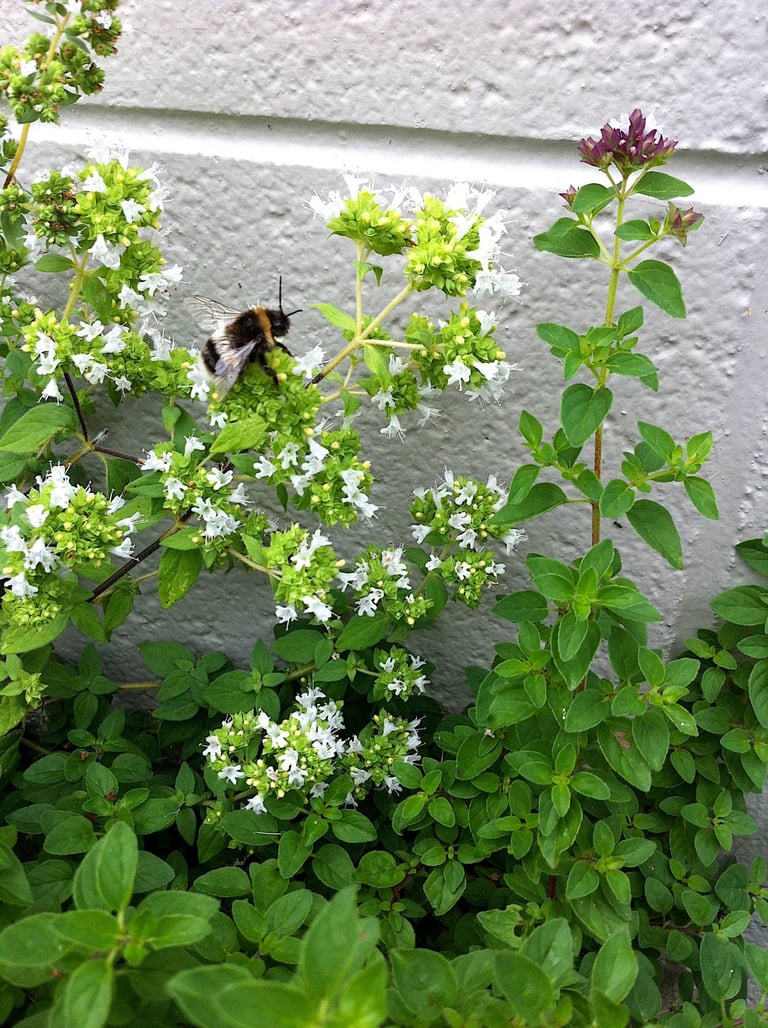
Bring bees into your garden and let the plant flower before harvesting.
No products in the basket.